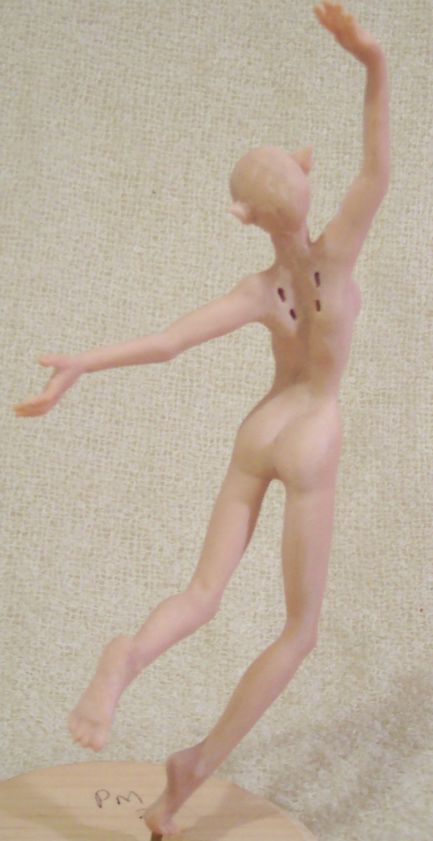

Sculpt the facial features next so you won't
have to handle the body too much later. The
other tutorial on head hands and feet can help
you get started if you are unfamiliar with this.
I've fitted the base post of my sculpt into a brass
tube that just fits over it and is epoxied into a
small base. This cuts down on over handling
the clay and reduces dirt specks. I keep adding
clay and refining the muscle groups all around
to keep the sculpt flowing into the pose I've
chosen. I never add too much to one area at a time,
trying always to bring each part along to the same
level of completion. Sometimes it helps to leave
a piece for a while and do something else. When
you come back a few hours later you will be surprised
at what you didn't see before. For this reason, I
often keep two or three sculpts going at a time

The last things to add are the hands and feet.
It's best to sculpt these separate and add them
to the ends of the wire and smooth into the rest
of the clay. I am constantly smoothing and
turning the sculpt around to smooth or add clay
and smooth again. If you find bits of dust or dirt
on the surface of your sculpt you can gently
scrape it away using the sharp edge of a craft
knife. If it goes too deep into the clay it is best
to cut it out and smooth new clay into the area.
If I am sculpting a faery, now is the time to make
the slots for adding wings later. If you forget you
will need to cut them into the cured clay and it is
never as smooth and clean looking. All this time
you can make small adjustments in the pose by
gently bending the wire. Larger adjustments will
require that you cut into the clay so you can grasp
the wire with a needle nose pliers. Pushing too
hard on the clay will make it deform around the wire.

I continue to smooth and clean up all around
the sculpt, adding details as I go. For the darker
colored areas, like the nipples, I mix a tiny bit
of pink and brown into a bit of flesh color and
apply to the area and shape. When I have made
sure it is as smooth as I can make it with my hands
all around I take a small filbert paint brush and
dip it into a very small amount of Sculpy diluent. I
use this to gently brush out any remaining tool
marks. If you don't think this is necessary you
might take your sculpt out into the sunlight and
look it over carefully. You will be amazed at what
natural sunlight will show up that was invisible
before. All those little marks will become painfully
visible after curing.


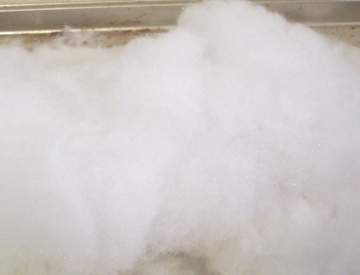
At last it's time for curing. I gently lay the finished
sculpt on a thick bed of polyester fiberfill quilt batting.
Once it is supported all around with batting I gently
lay a fluffy piece of batting on top to protect the piece
from scorching. I bake it the required temperature for
15 to 20 minutes longer than the clay requires. This
makes sure the clay doesn't under cure because of the
batting insulation. It needs to be left undisturbed until
it cools completely. The warm clay is very fragile and
will develop cracks and breakage if handled. Now that
she is all cured she is ready for feature painting, hair
and some beautiful clothing.